Text 2: Building a GPU Text Editor
Milestones to Word Wrapped, Line Wrapped, and Unwrapped TextUpdated: 2024-03-26
The previous exploration, Text 1: Rendering and Editing used a simple pixel buffer for rendering. The primary goal of this exploration is to build a simple GPU rendered, monospaced text editor for self education.
The style of the document will change along the way as I experiment to find what suits me best.
0. Basic Window
1. Initial Clear Color Render
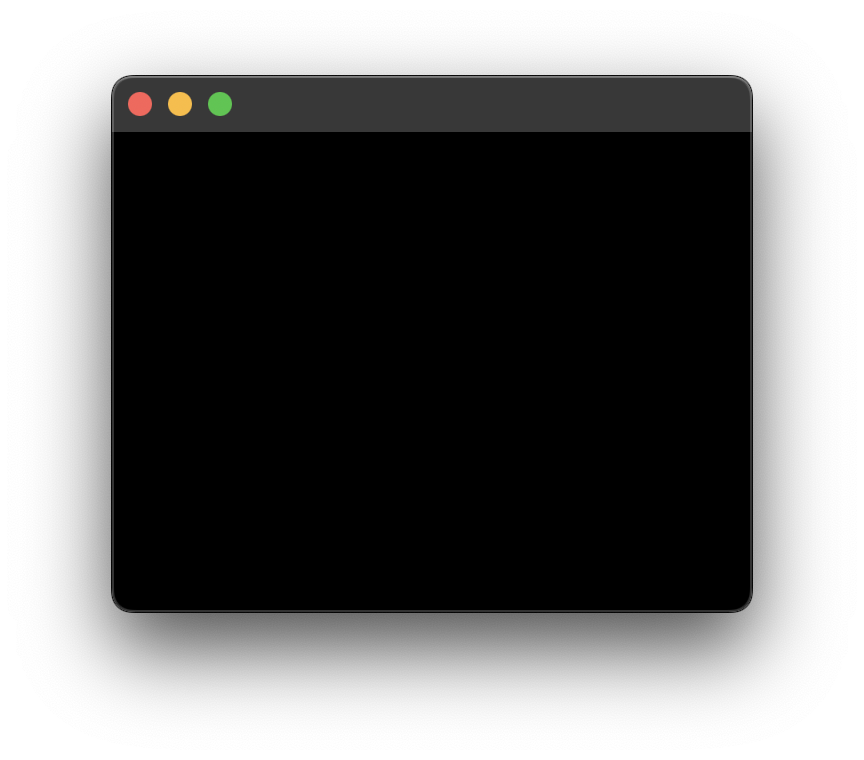
1.0 DPI
2.0 DPI
Notes
Apple displays have twice the pixel density of standard displays. Opening the window on a standard display and moving the window to the apple display will cause the image to appear smaller due to the doubling of the available pixels in the window. The solution is simple. When the scale factor changes, adjust the dimensions of the render surface just as you would with a resized window.
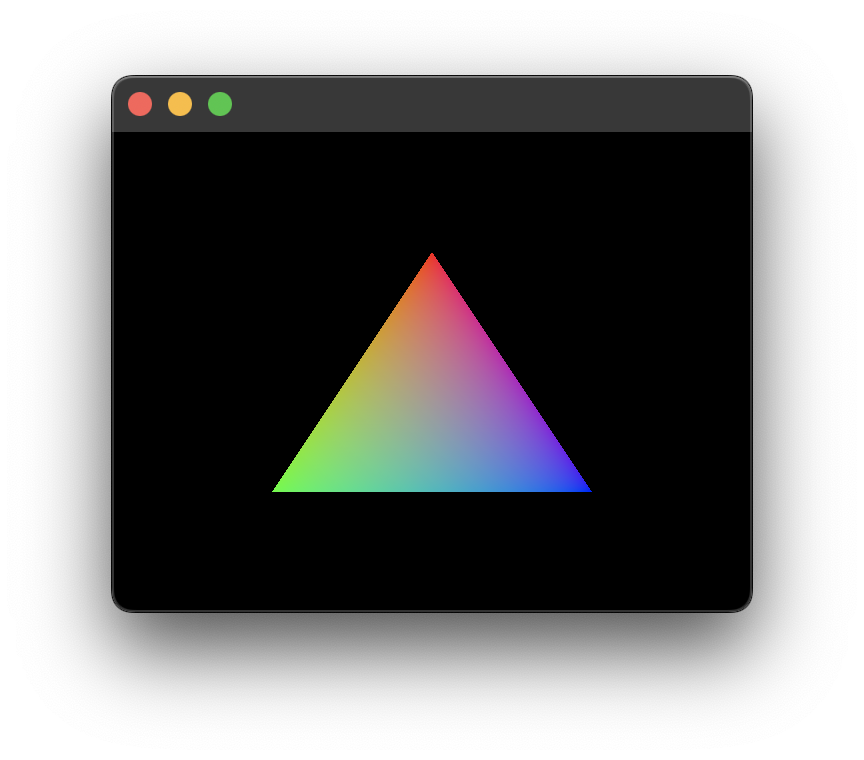
2. Hello Triangle
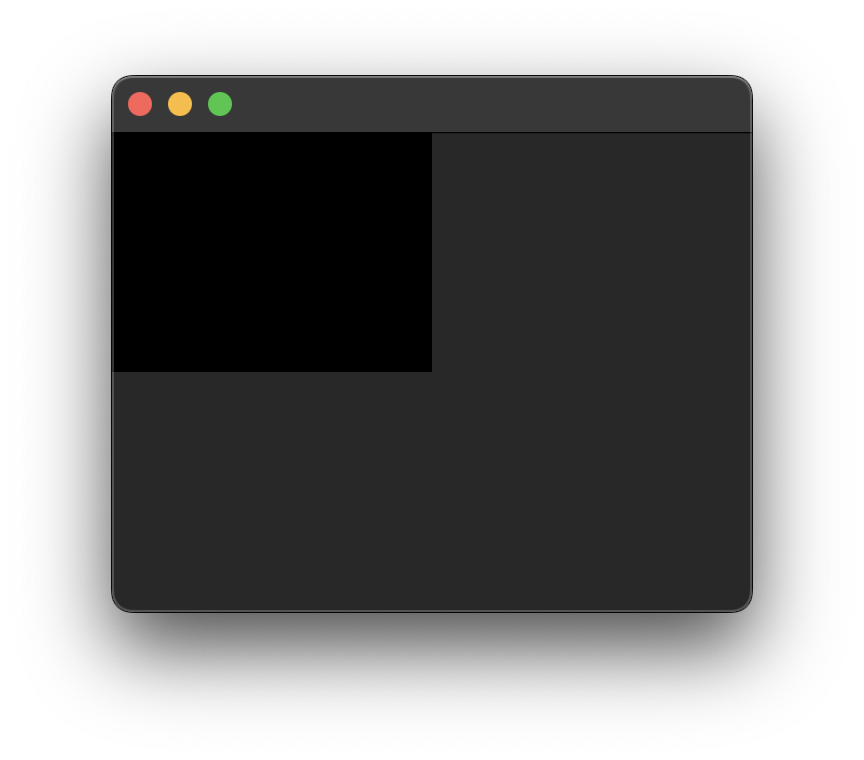
3. Hello Quad
4. UV Coordinates Quad
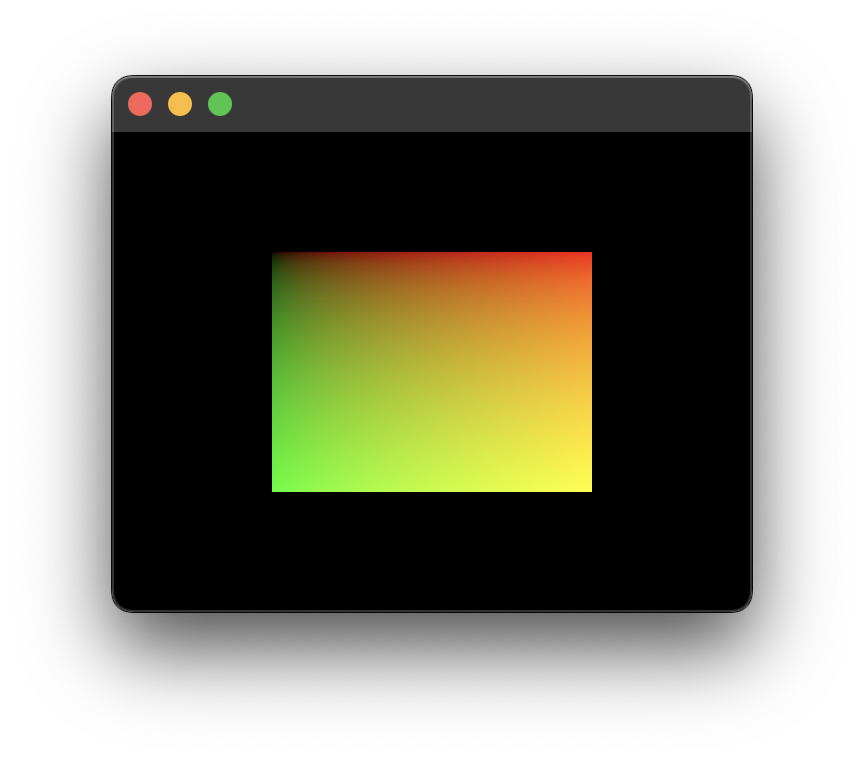
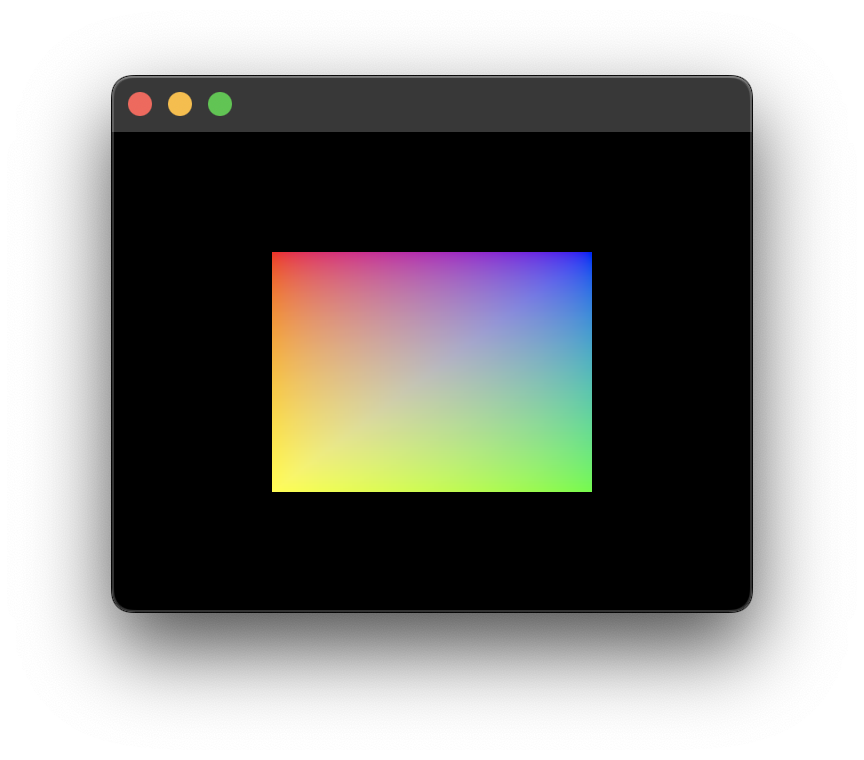
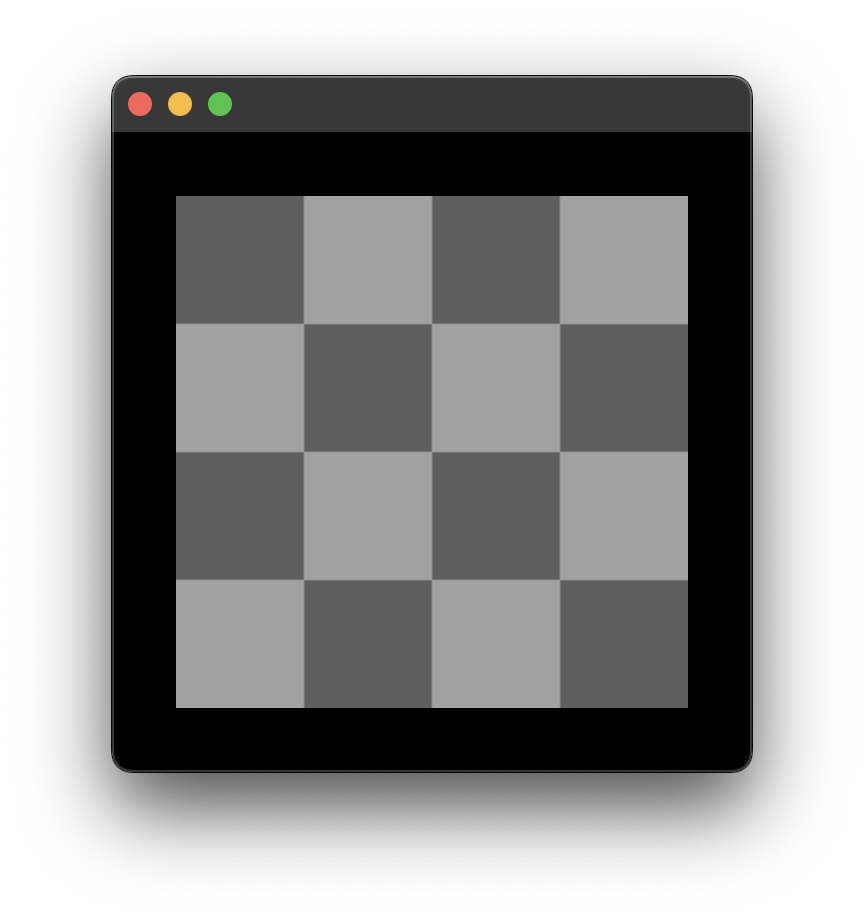
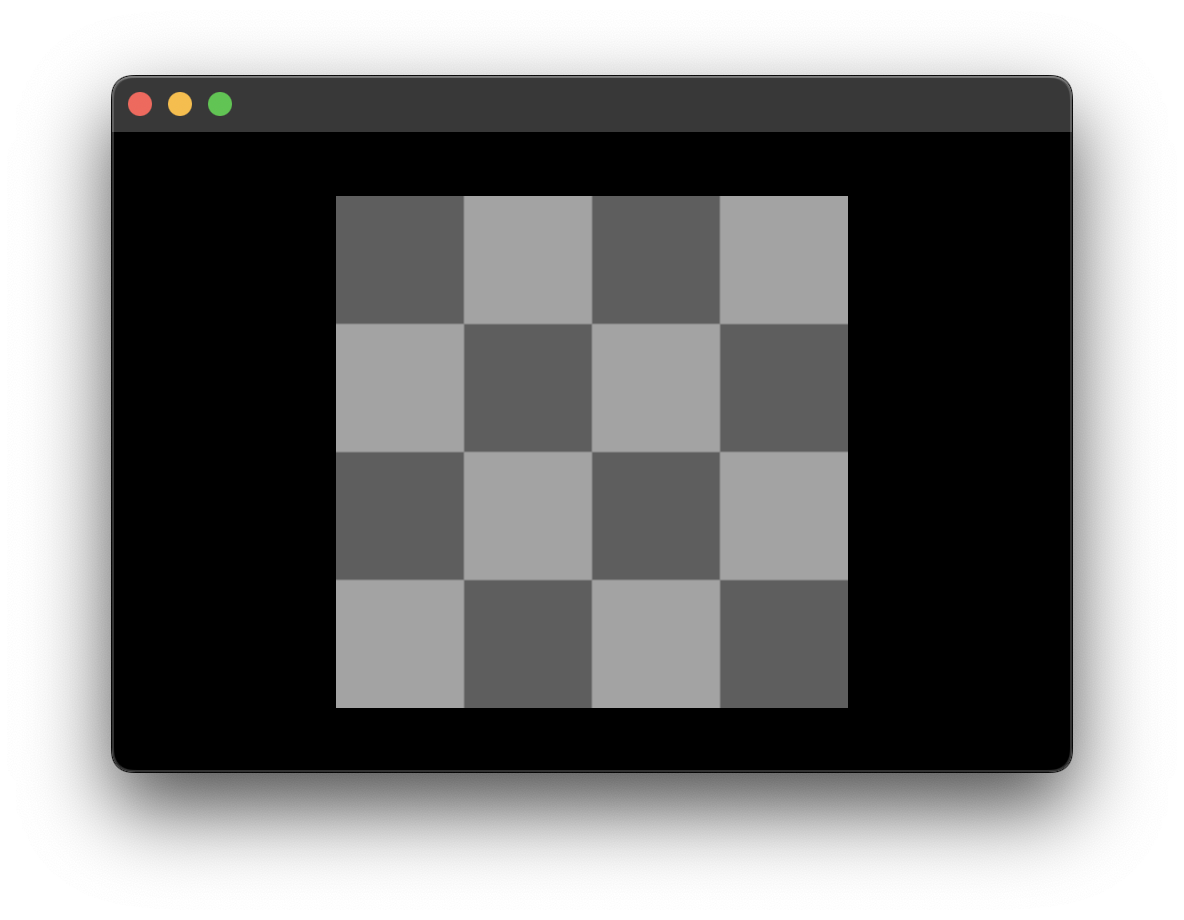
5. Render Image
320 × 240
320 × 320
Notes
The source image is 256 by 256 scaled by 0.5 to 128 × 128. Its distortion in the first screenshot is due to the proper mapping of its edges to the UV coordinates of the quad. Additionally. The vertices are still hard coded to the normalized device coordinate (NDC) system, which allows the image to appear undistorted if the window's width and height were equal, as shown in the second screenshot.
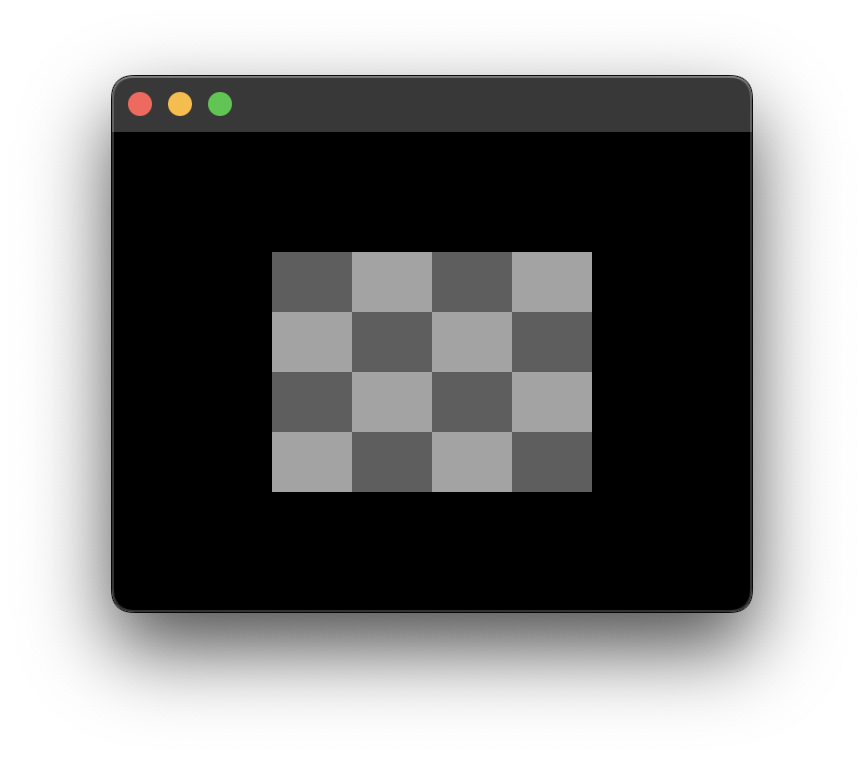
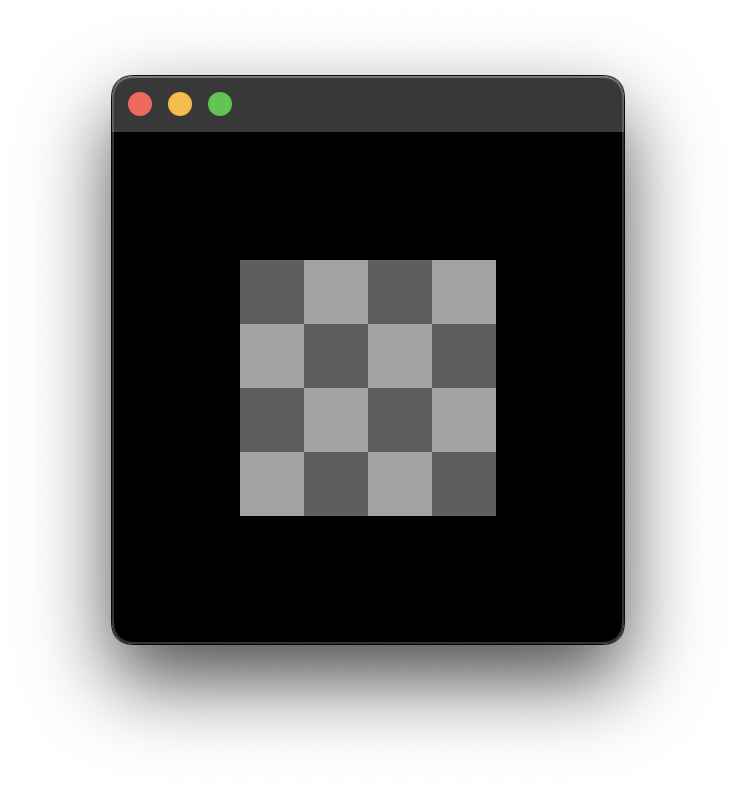
6. Orthographic Camera
320 × 320
480 × 320
Notes
The use of an orthographic camera resolves the distortion issues. The window can be resized and moved across screens of differing pixel densities while maintaining the image's display size.
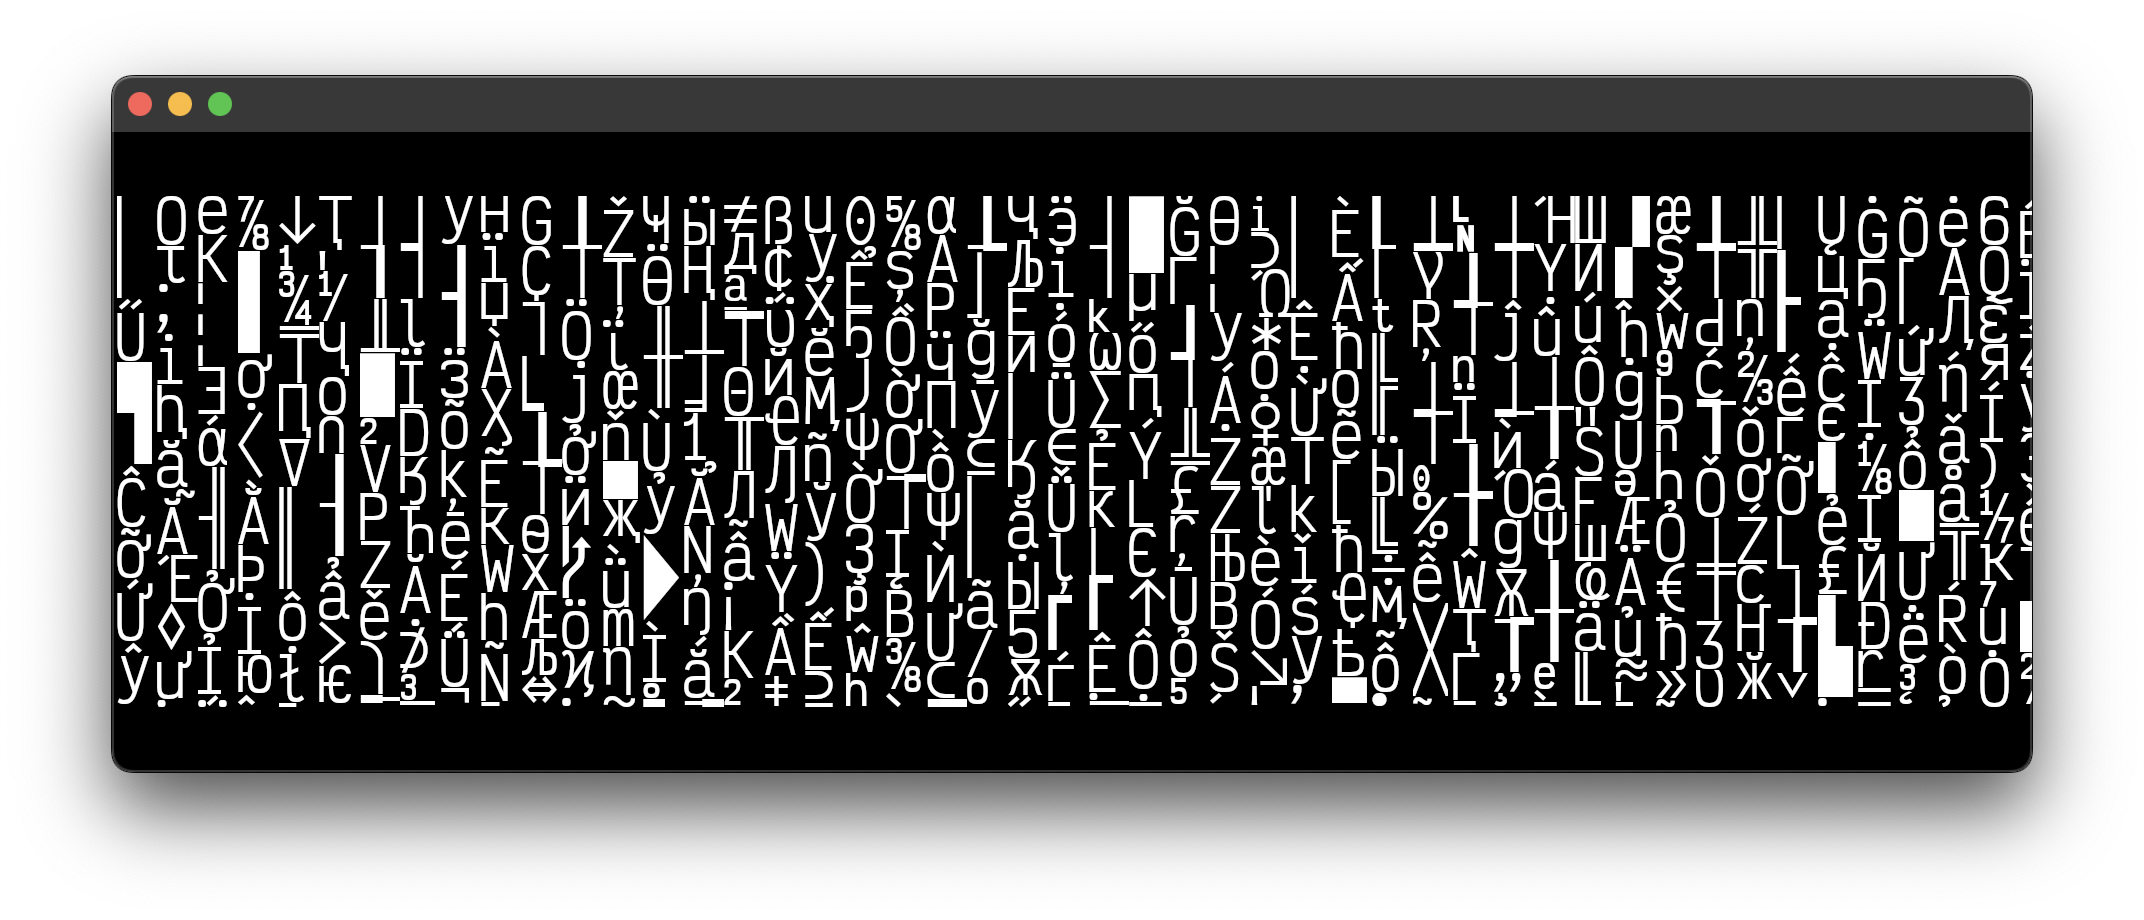
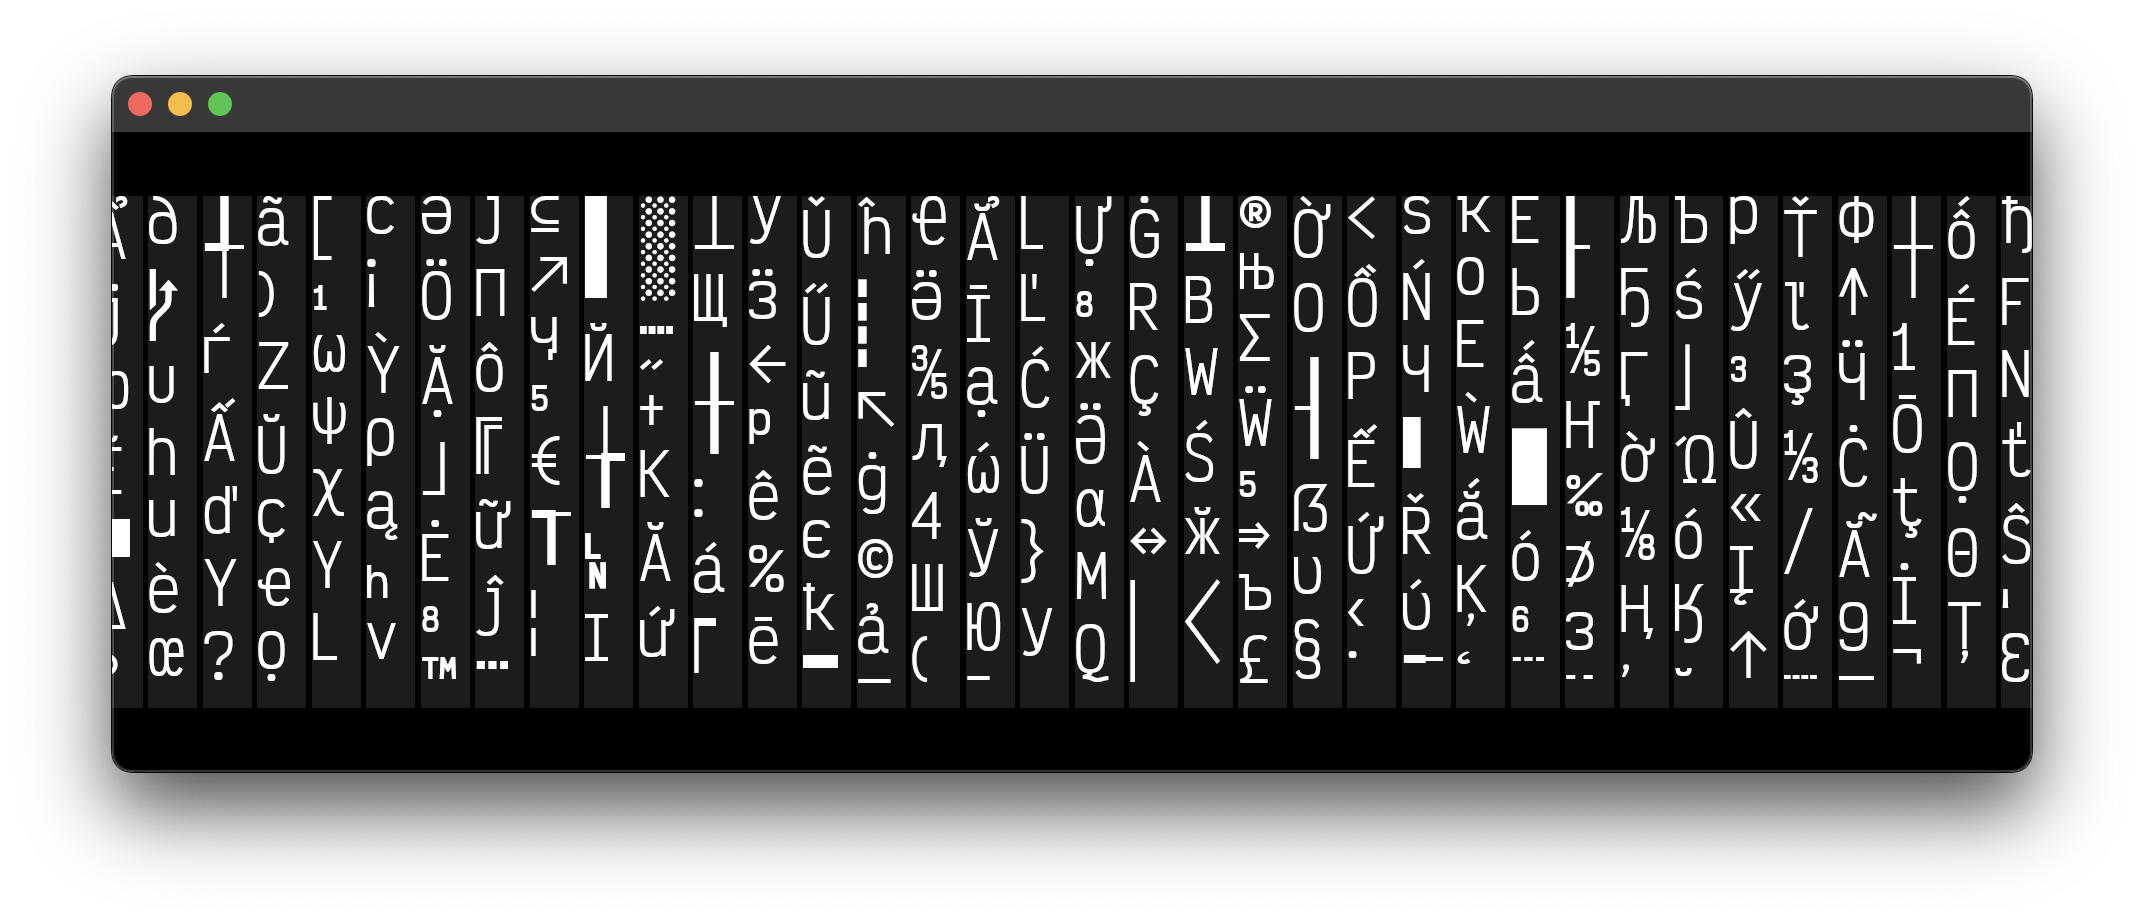
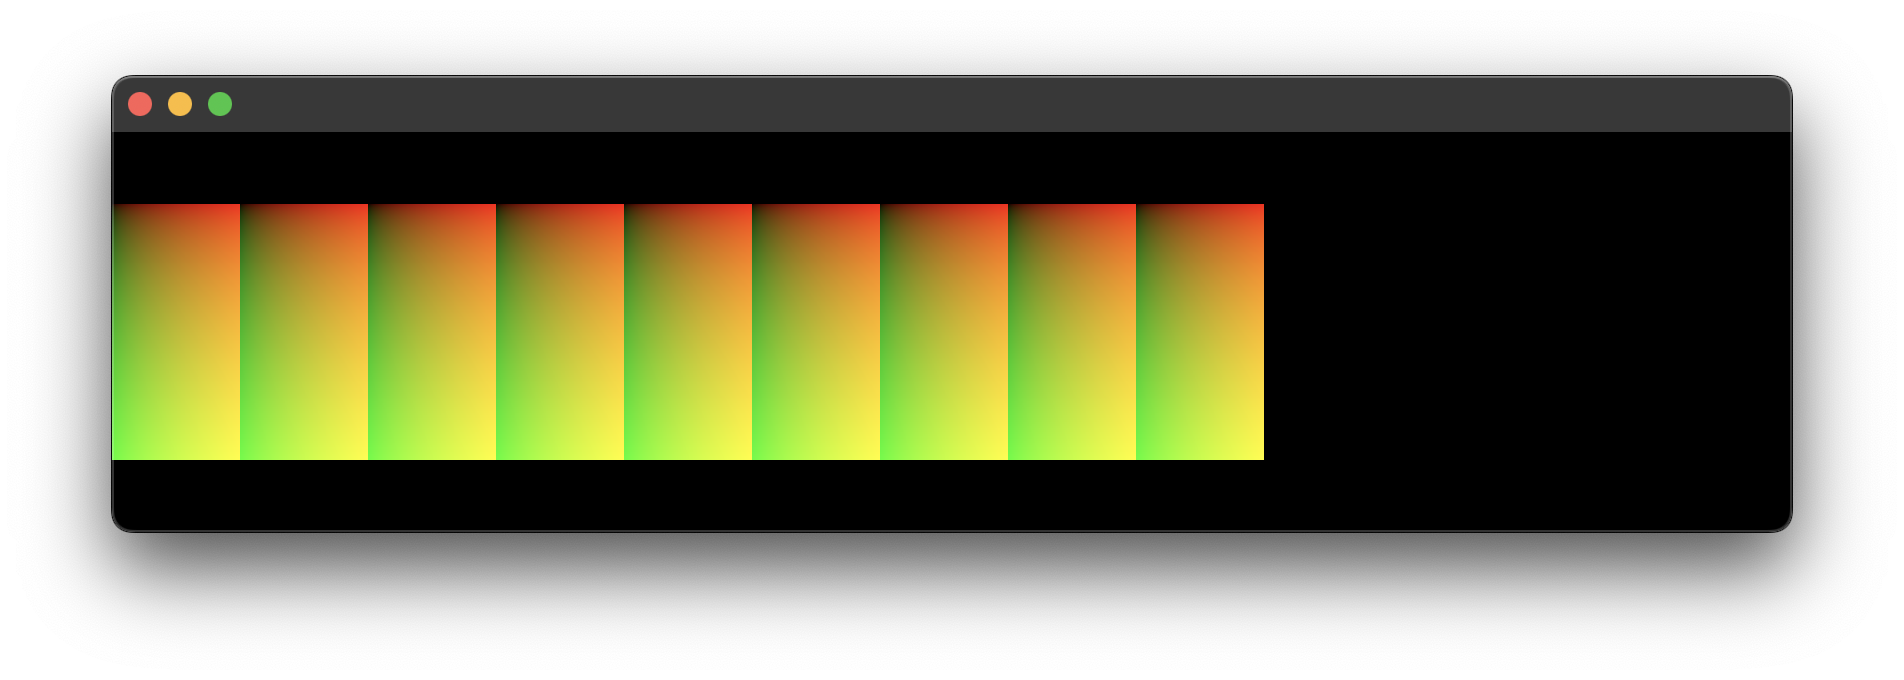
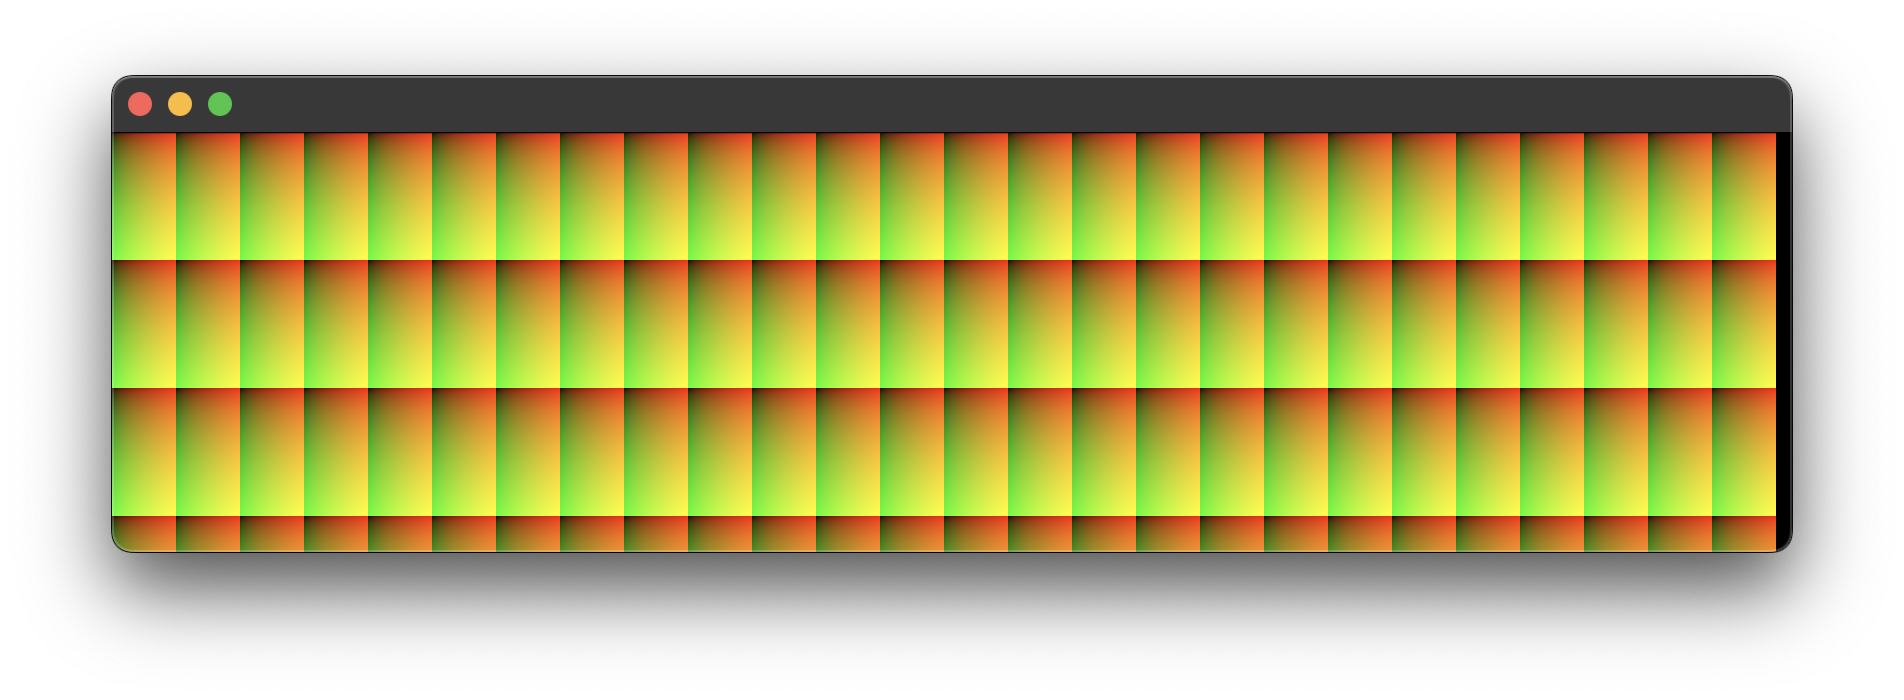
7. Glyph Atlas
Notes
Text rendering with a GPU is a bit of a rabbit hole. Among single and multichannel signed distance fields, curve tessellation, and Bézier curve outlines in the shader, the most direct approach is to use an atlas.
This glyph atlas is composed of the rendered images for each glyph available in the font file. Since the total number of glyphs available can vary between fonts, it seems best to generate the atlas as several vertical slices as needed. For the sake of the screenshot, the height of each block is 512 which generates 108 blocks for the font size of 32. A larger block size will require fewer blocks.
The implementation is simple. Place the glyph in the block with the available space and remember its location. There is a one pixel gap between the glyphs and each block has its own transformation for debugging purposes.
Game engines would typically use a texture packer; which finds the optimal configuration to save on space. They may also choose to select only the most common characters, depending on factors like distribution region and scope.
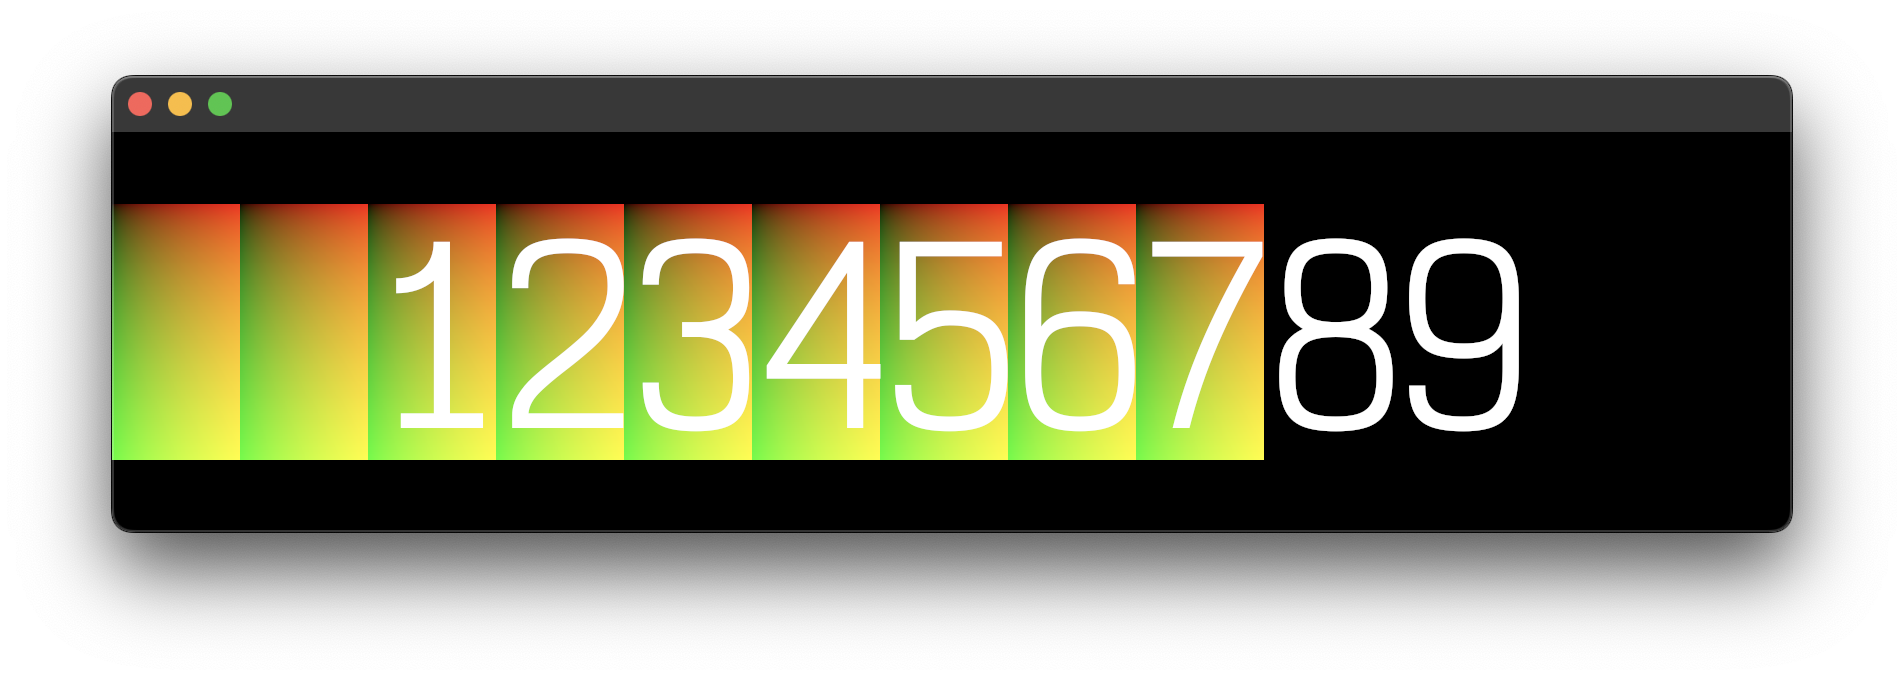
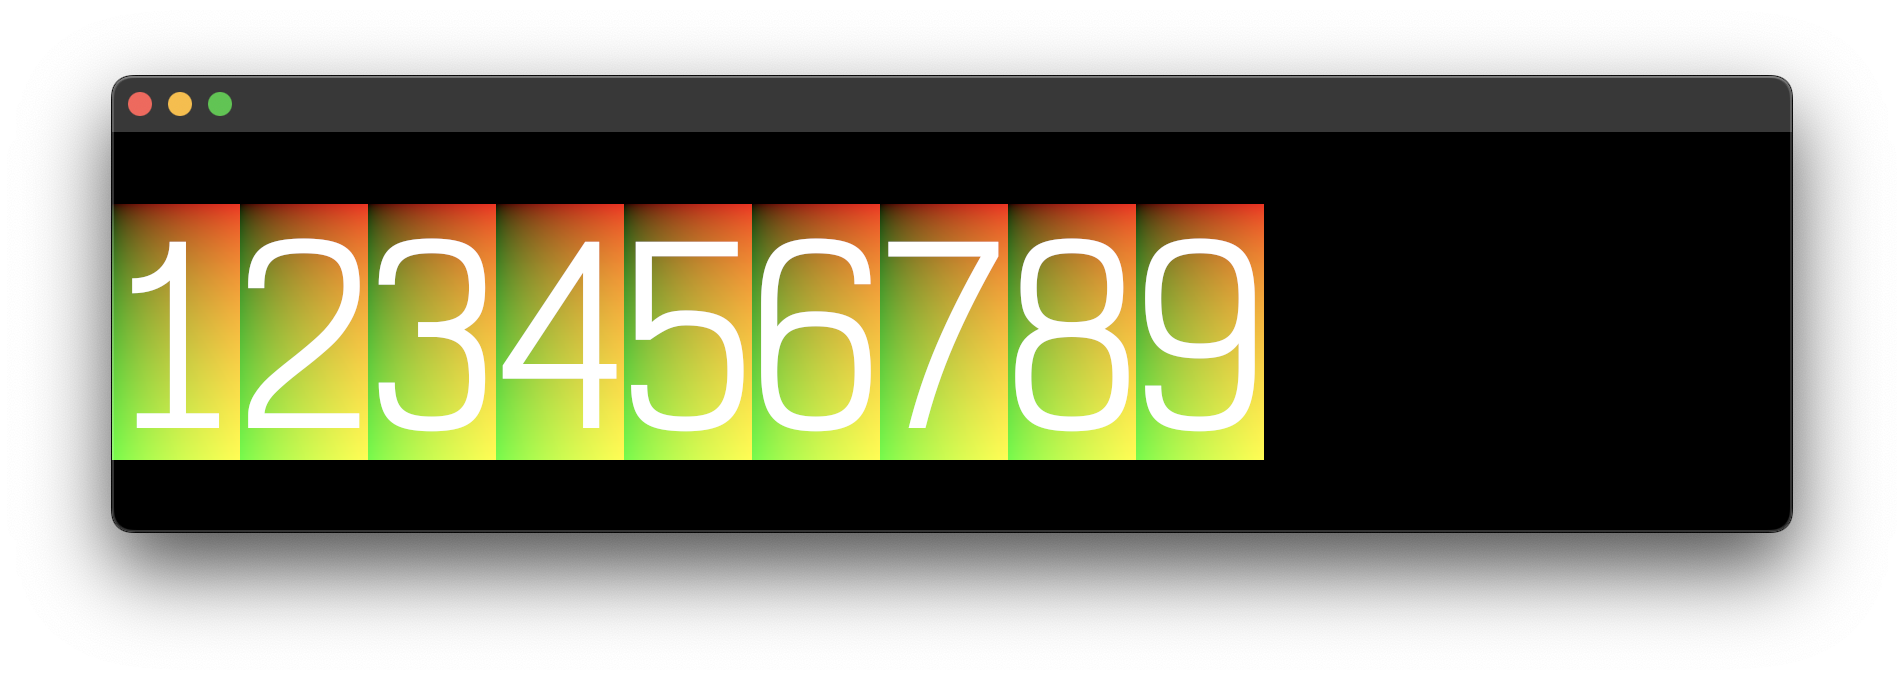
8. Render a Single Glyph
Notes
Rendering a single glyph requires simply selecting the correct block index, UV coordinates, and transforming the quad to the dimensions of the image.
Since I have 1x and 2x pixel density monitors, I'll have to generate another atlas with a doubled font size for moving windows across them. Resizing the camera's viewport does not yield crisp results.
Supporting multiple font sizes will require additional atlases. As you can imagine, the memory costs would outweigh the benefits; which could explain why the elder_devs found other means to render text, even if they limited the glyph pallet.
Side Note
An elder_dev is someone who cut through the forest of tough software and hardware problems of the past. They laid the foundation of what we build upon
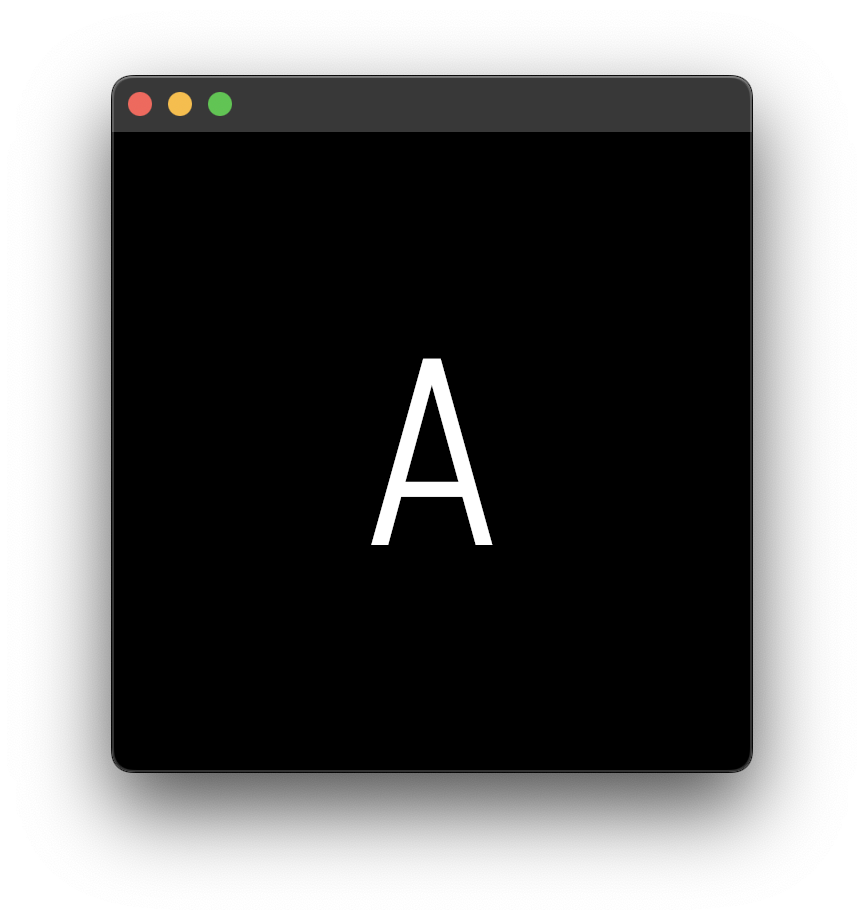
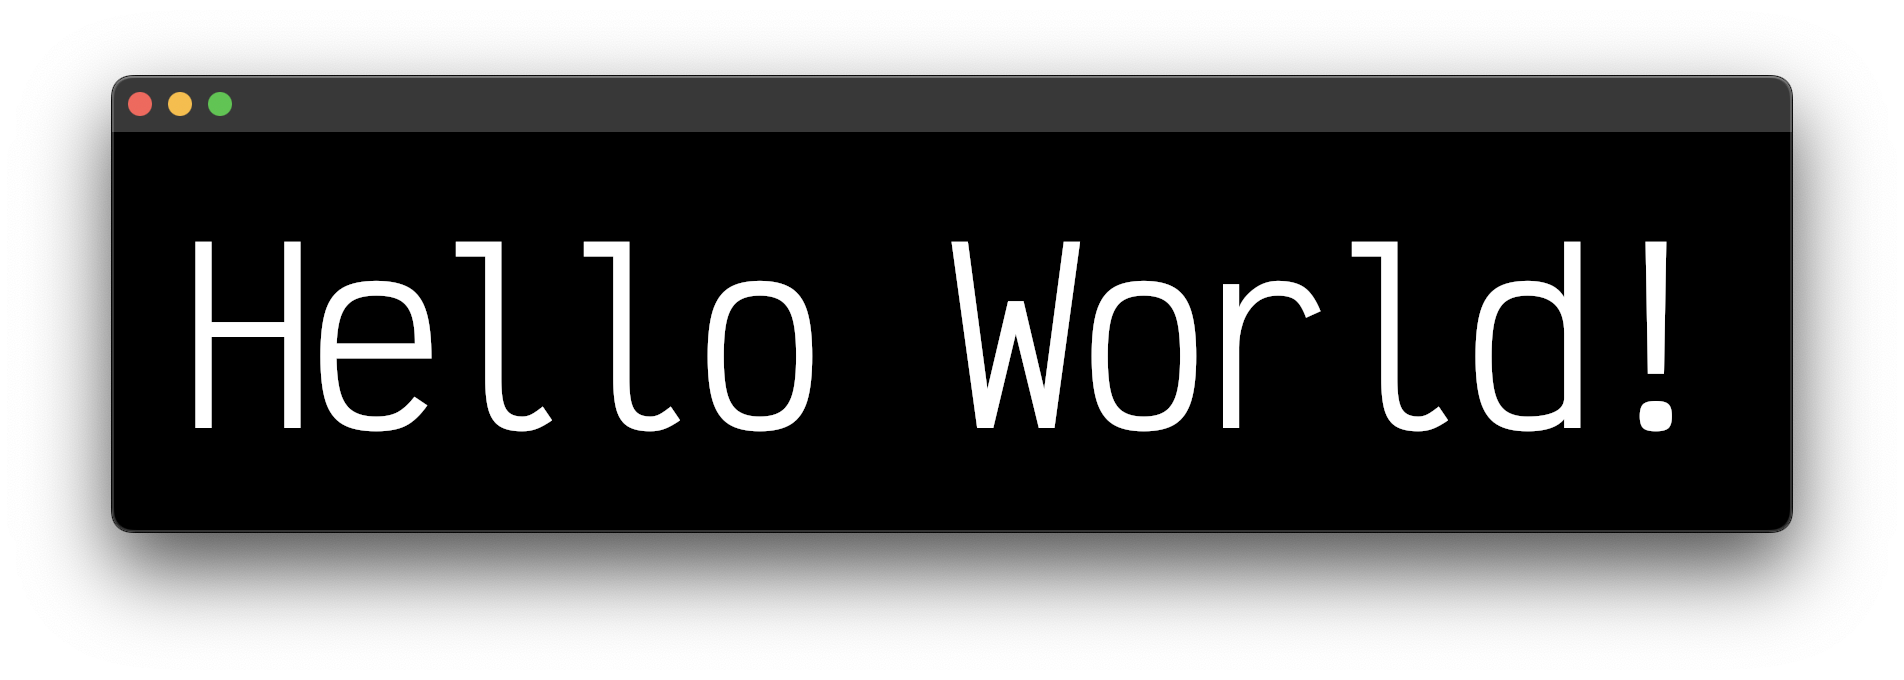
9. Hello World

Notes
The font is VictorMono-Regular.
10. Character Input
11. Character Deletion
12. Cell Row and Glyph Position
13. Cell Column Count
14. Cell Grid
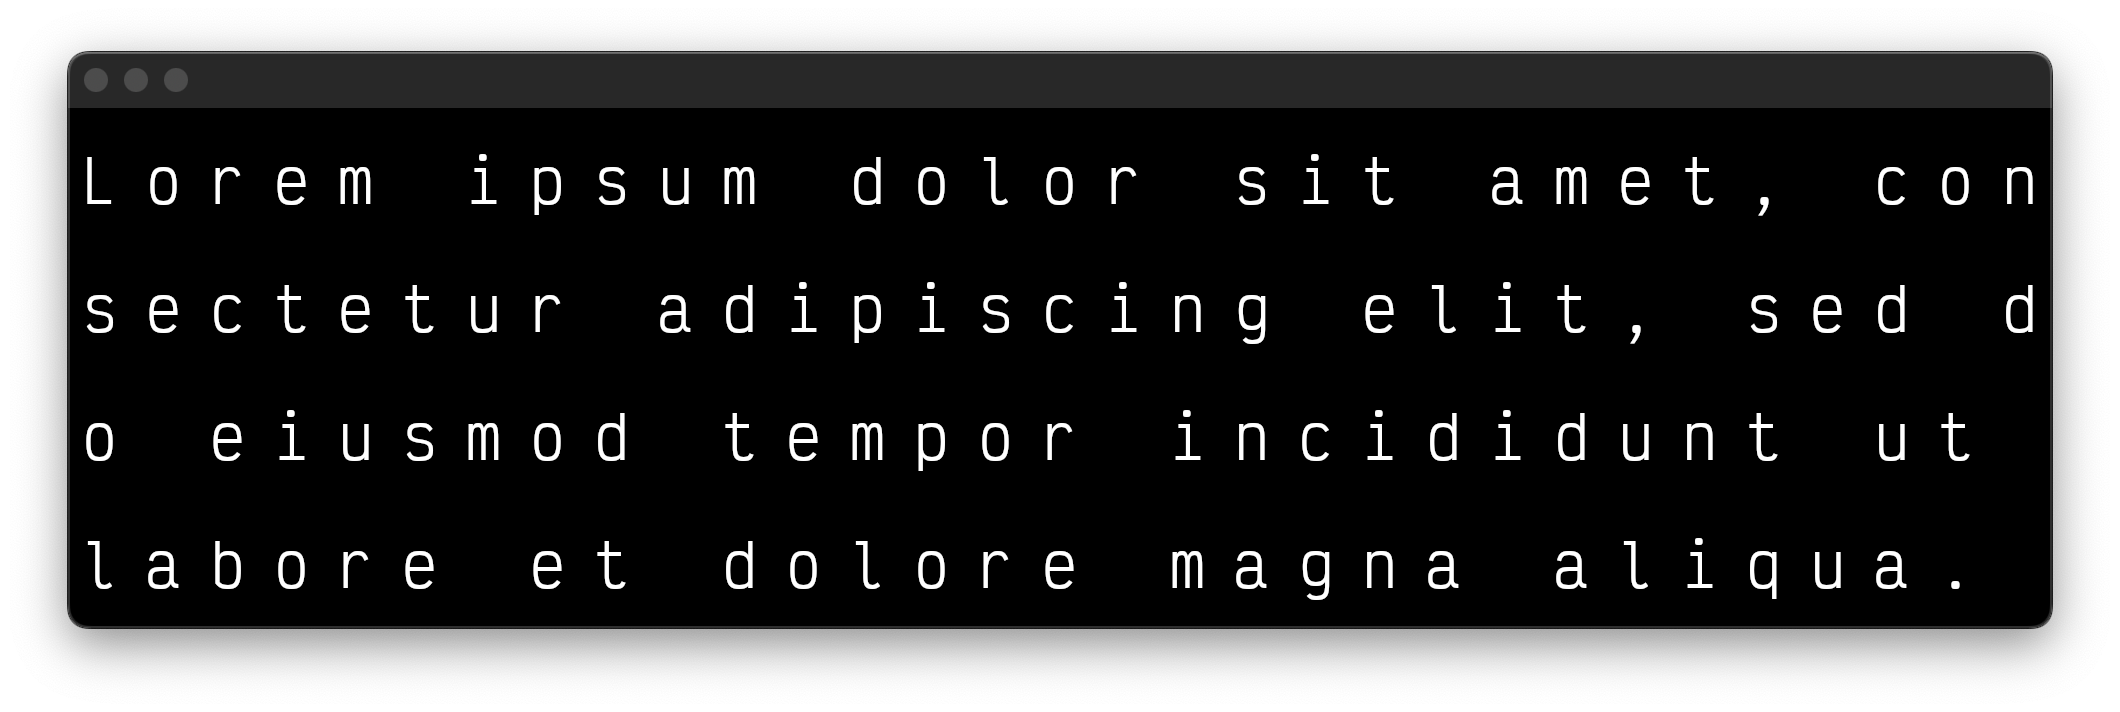
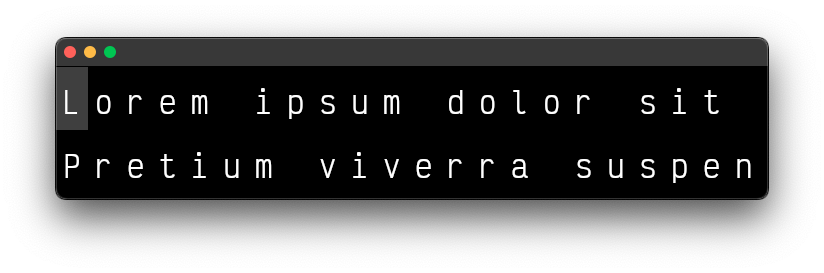
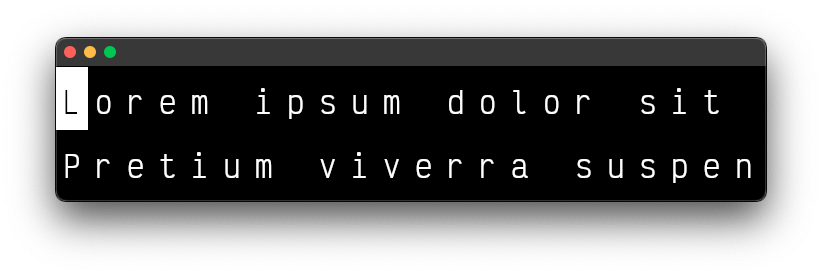
15. Lorem Ipsum
Notes
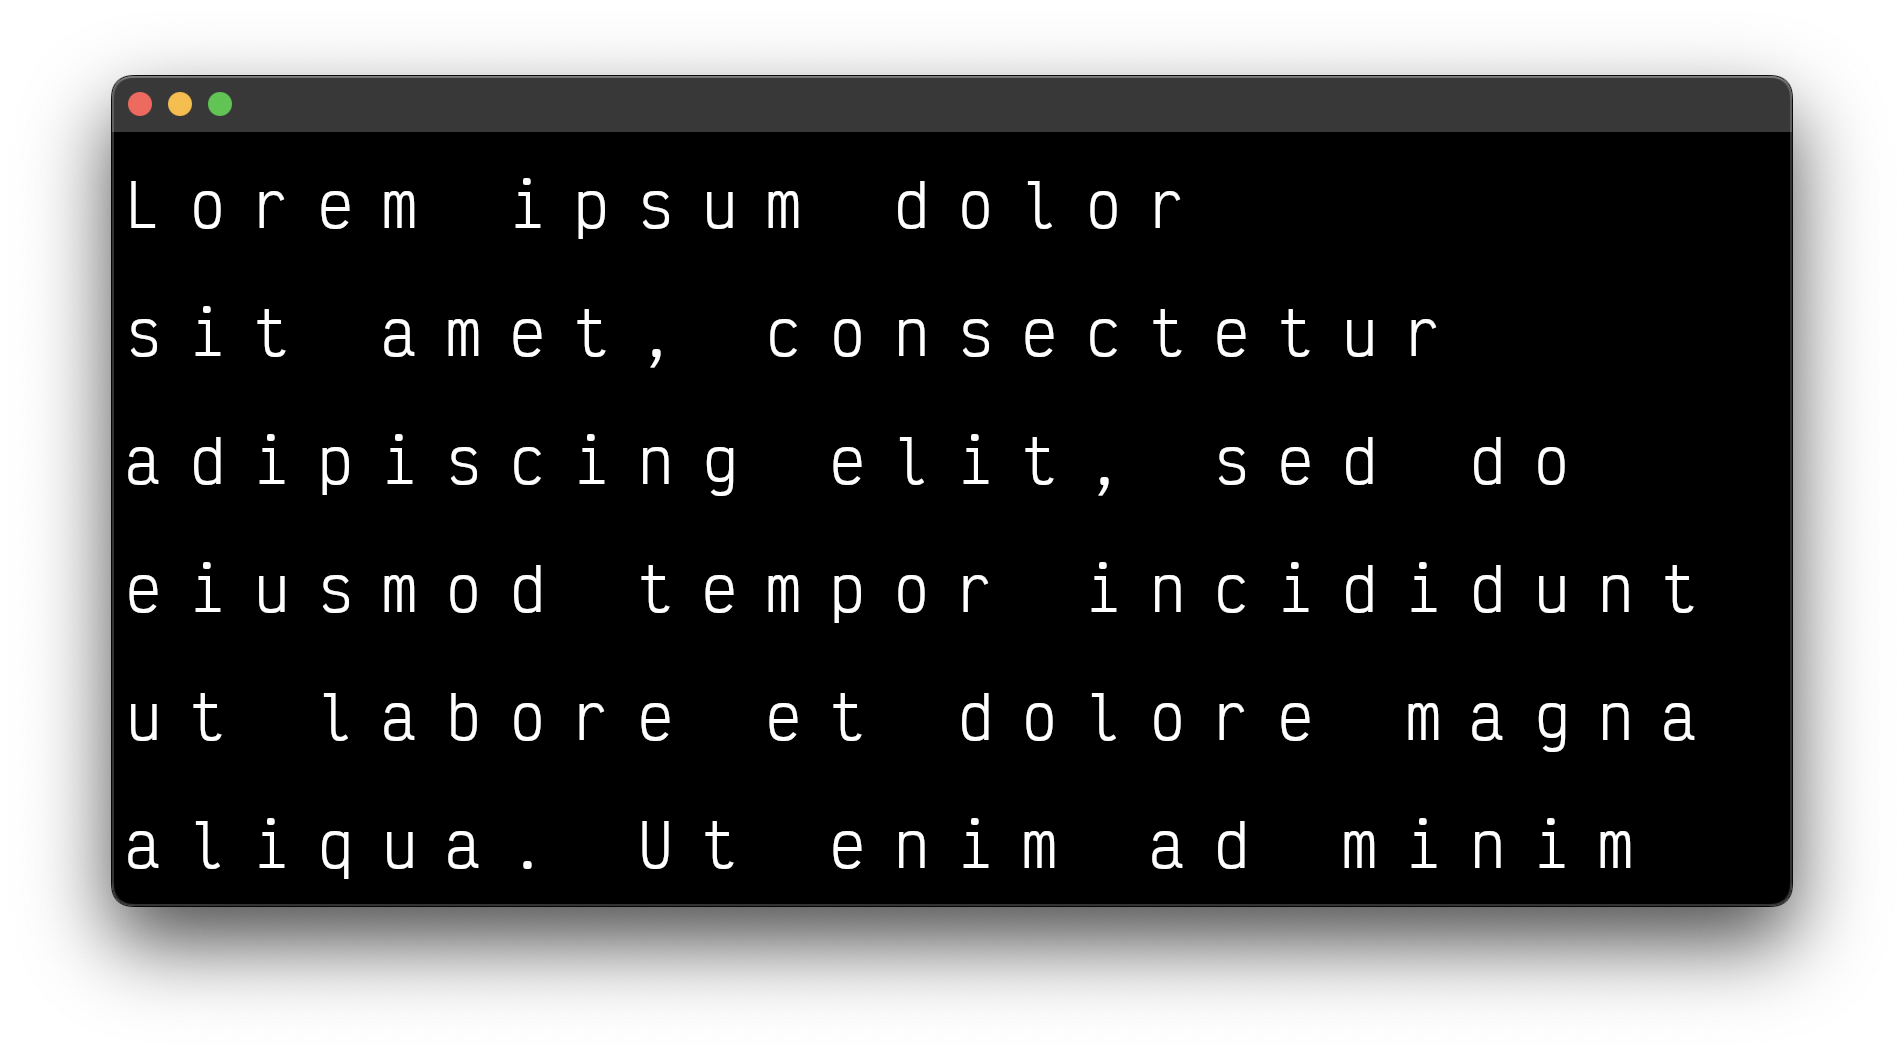
- "Lorem ipsum dolor sit amet, consectetur adipiscing elit, sed do eiusmod tempor incididunt ut labore et dolore magna aliqua."
- A word should begin on a new row if the current row does not fully support it.'
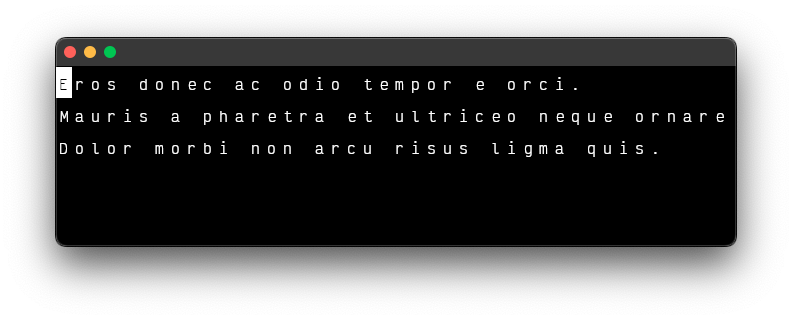
16. Line Breaking/Word Wrapping.
17. Scrolling
Notes
- Move the camera, not the text.
- Don't forget to cull the off-screen cells and glyphs.
18. Input
Notes
- The greedy line wrappig algorithm is more appropriate for an input area.
19. Updating Characters
Intermission
I've had to back track and update my assumptions about text editors. For example, in section 14, I assumed that I'd always know how many cells I'd need based on the length of the body of text. That proved to be false once I reached the point of line wrapping; where I'd have to skip cells and move to a new line to avoid breaking a word across lines.
I'm sure I'll have to backtrack more as the project grows in complexity, so now is a good time to take a break, review the lessons learned, and try to think a few steps ahead.
I recently earned an ITILv4 Certification. Rather than brain dump (forget it until I'm questioned on the matter) the material in preparation for the next course; I've decided to try to put it to good use using the 4 of the 7 steps of their Continual Improvement Model.
1. What is the vision?
The editor should be able to do the following:
- Render a single cursor.
- Insert characters at the cursor's position within the text.
- Move the cursor by character.
- Move the cursor by the next and previous word.
- Insert new lines at will.
- Toggle line-wrapping.
- Reposition the glyphs based on the window's width while maintaining the camera's view of the cursor.
- Create text file.
- View 1 or more text files.
- Edit files in memory.
- Save files to disk.
The end result will be a toy. Its purpose is to provide the requisite XP for more complex projects.
2. Where are we now?
We currently have:
- An infinite virtual space.
- A resizable grid.
- A sprite/glyph atlas for character glyphs.
- A movable orthographic camera.
- A mechanism to insert and delete characters.
- A mechanism to render characters on the grid.
3. Where do we want to be?
The proper next step is to render an essay. So far I can only render a sentence. The demos don't show the ability to render a new line if the text string has a new-line character (\n).
4. How do we get there?
- Place a large text file in project directory.
- Determine the window of how many bytes to read at once to avoid loading the entire file into memory.
- Decode the bytes into a string.
- Render the text, line by line, without wrapping.
- Build a way to use the mouse wheel to move the byte window through the file and re-render.
- Build a way to scroll while holding the shift key to move the camera on the horizontal axis.
Lingering Questions
- How do I ensure the byte window size is large enough to fill the screen and reach the vertical culling zones?
- Do I scan an initial section, compare the line count of the decoded text with the grid's row count, then enlarge the window if there aren't enough? If so, I should be able to scan from the end of the byte window to the next new line byte pattern.
There's only one way to find out.
20. Lorem.txt
The project now contains a file named lorem.txt. It has seven paragraphs across thirteen lines, with the longest line containing 1,916 characters. The file uses 9 KB. If the grid were set to have a column count of 1,916 and a row count of thirteen, it would contain 24,908 cells. That would use far too much memory for off-screen characters. If I needed to use a 1 MB file, the cell count for unwrapped lines would be 1,277,783.
The cells have a 2:1 ratio, where the height is twice the size of the width. Their dimensions are used to determine the number of cells that can fit on the screen, as shown in sections 13 (Cell Column Count) and 16 (Line Breaking/Word Wrapping).
However, this speculative little calculation is a distraction. The next step is to render a single unwrapped line of the file. The lingering questions from the previous section are not yet relevant.
21. Milestones to Rendering Unwrapped Lines From a File.
notes
- The grid was not the best place to start. It led me to be far too conerned with the final result instead of the model. While trying to render a single line, I discoved that I could simply create the additonal lines needed and group them into a
LineLattice. This should make line-wrapping, culling, and possibly rendering line numbers much easier.
22. The Culling.
23. Drawing a Cursor.
notes
- There are two ways to draw the cursor. Either draw a transparent box under the glyphs or draw a fully opaque box and update the glyph's color in the shader.
24. Basic Cursor Movement.
notes
- It's important to keep track of the cursor's last position to return a glyph's color back to an undistinguished state.
25. Culling Debugging.
26. Horizontal Cursor Movement.
27. Horizonal Cursor Movement Across Lines.
28. Following the Cursor Through to the End and Back.
29. Vertical Cursor Movement.
29. Following the Cursor on the Vertical Axis.
30: Cursor Movement Across Words.
31: Inserting Characters at the Cursor's Position.
32: Deleting Characters at the Cursor's Position.
33: Implementing Carriage Return Line Feed
34: Line Wrapping
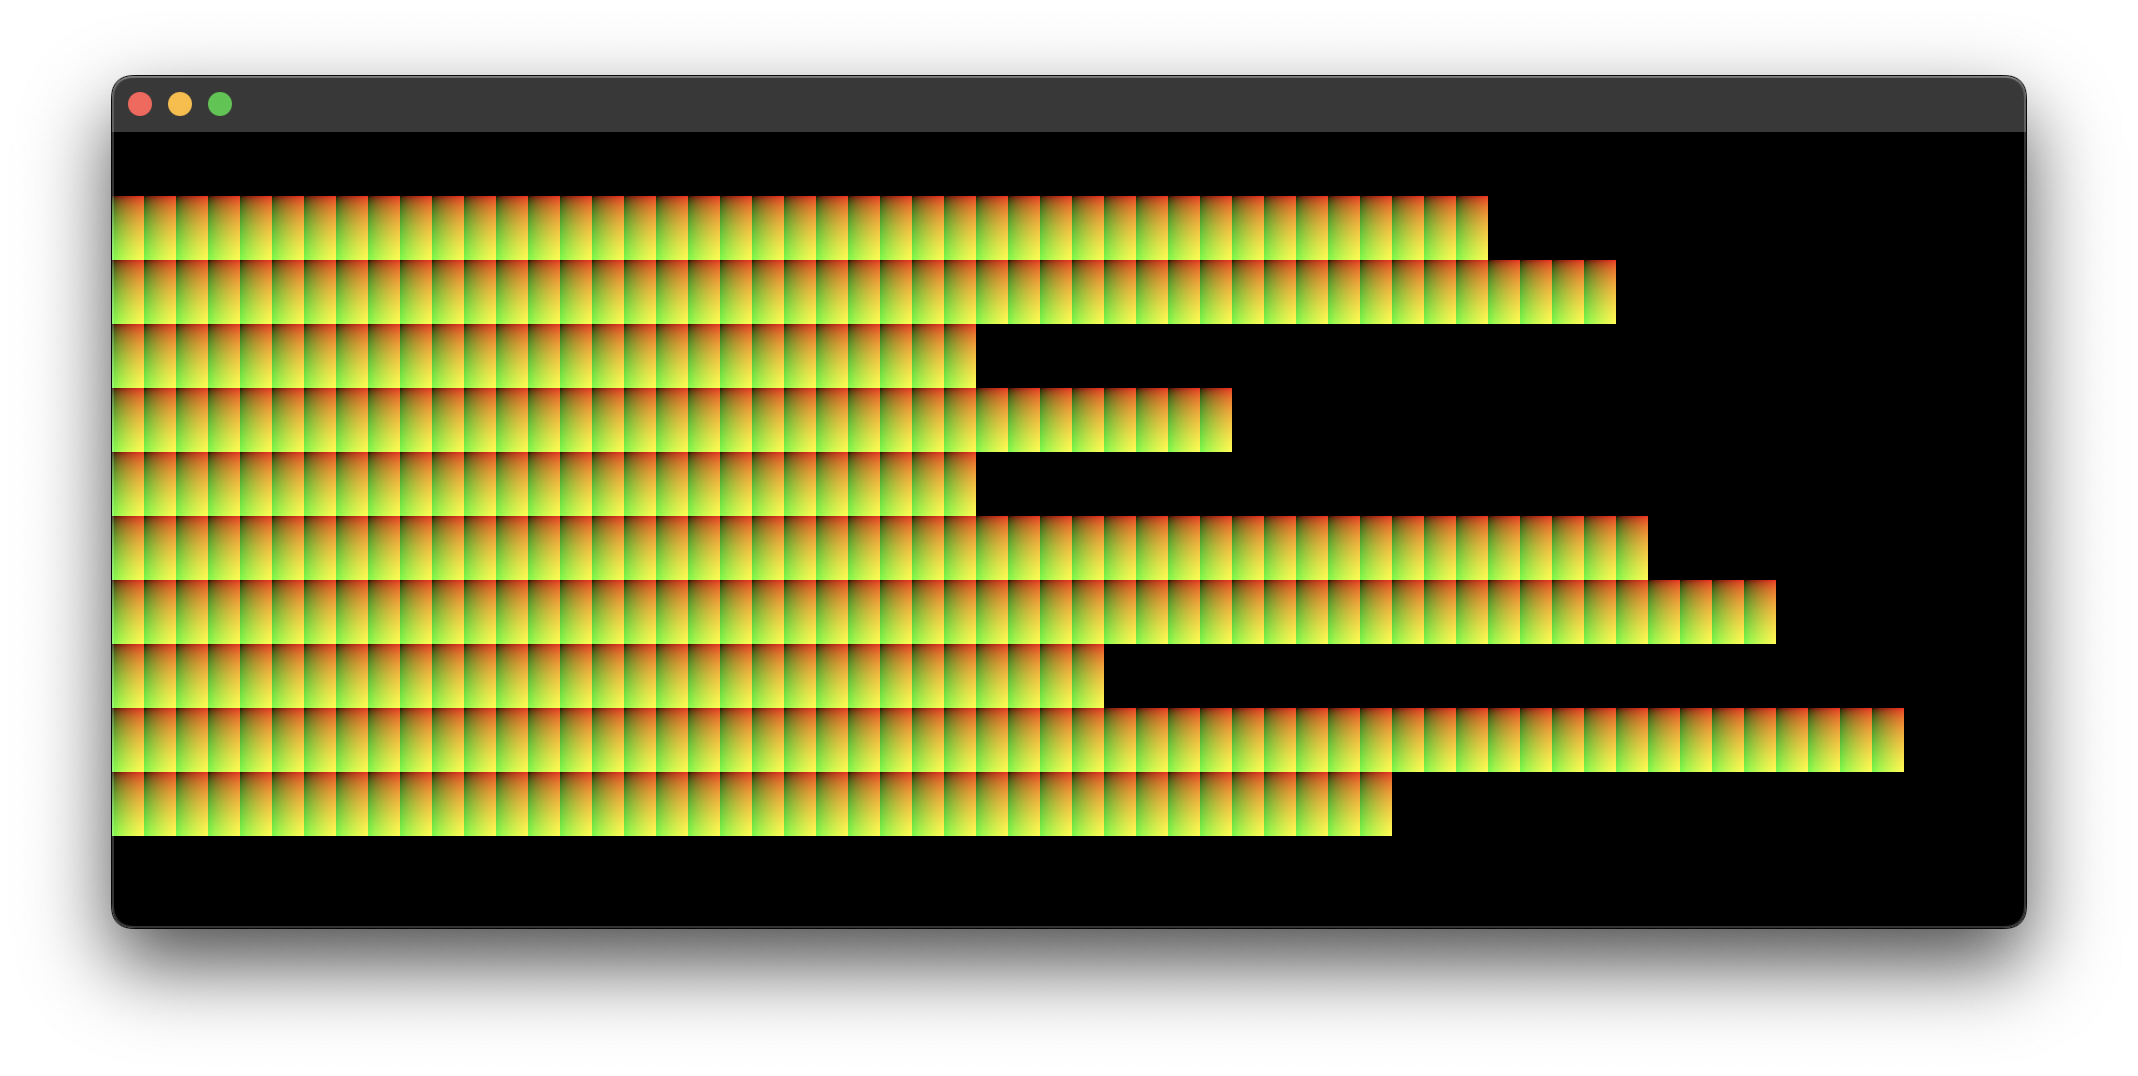
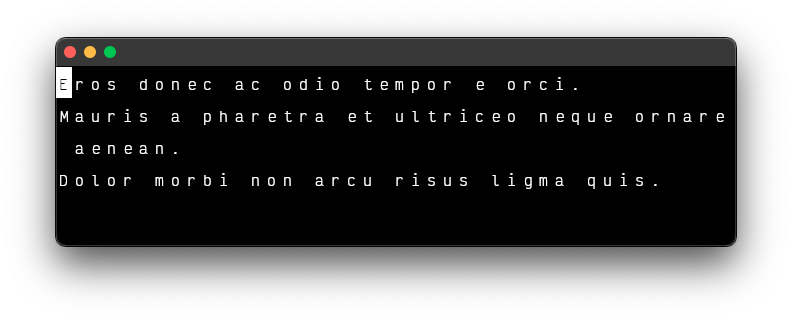
35: Unwrapped Text, Line Wrapped, and Word Wrapped

Intermission II
- Render a single cursor.
- Insert characters at the cursor's position within the text.
- Move the cursor by character.
- Move the cursor by the next and previous word.
- Insert new lines at will.
- Toggle line-wrapping.
- Reposition the glyphs based on the window's width while maintaining the camera's view of the cursor.
- Create a text file.
- View 1 or more text files.
- Edit files in memory.
- Save files to disk.
Thank you.